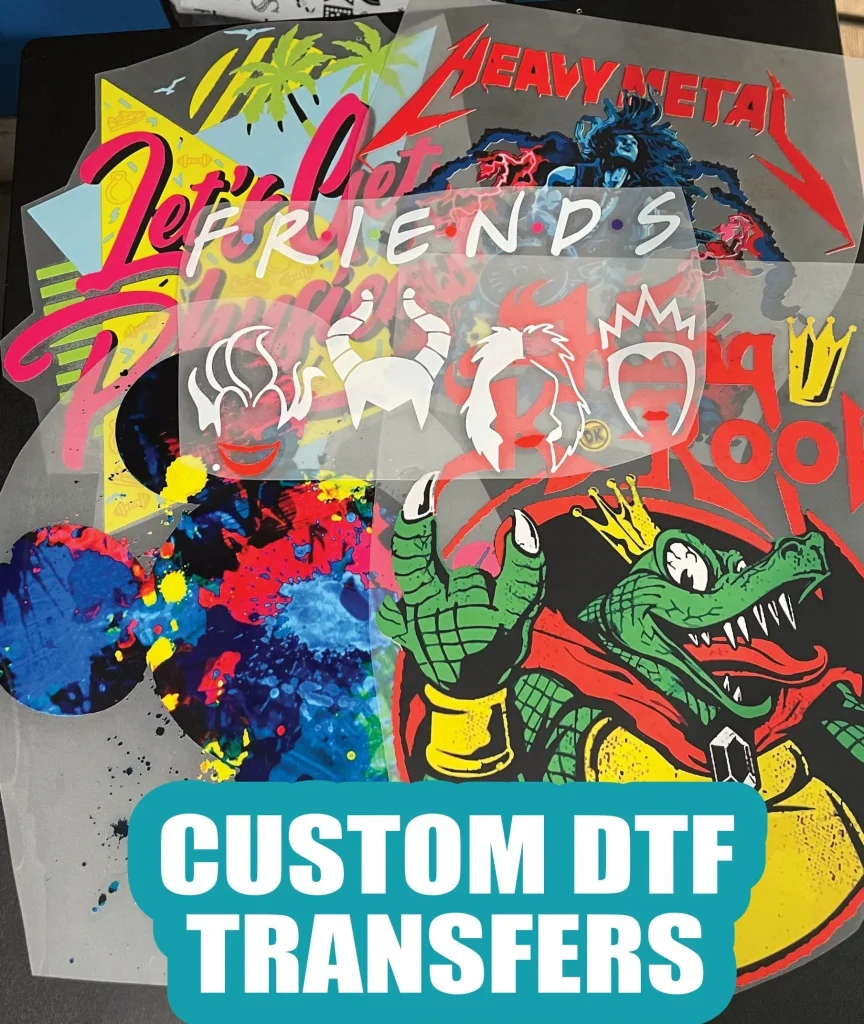
DTF transfers, or Direct to Film transfers, are rapidly gaining popularity in the world of printing due to their ability to create vibrant, high-quality designs on various fabrics. As more creators and businesses adopt DTF printing techniques, understanding the best practices for DTF becomes crucial for achieving stunning, professional results. In this comprehensive guide, we will cover essential DTF transfer tips, including insights on how to do DTF transfers effectively. With the right knowledge and techniques, anyone can master this innovative method and produce eye-catching apparel. Let’s dive into how to elevate your DTF printing process for optimal success.
In the field of textile decoration, the technique known as Direct to Film (DTF) printing offers a game-changing approach to creating stunning apparel designs. This method allows users to print directly onto a specialized film, which can then be applied to various types of fabric using heat and pressure. Mastering the nuances of DTF printing is vital, whether you’re a hobbyist looking to enhance your craft or a professional aiming for commercial success. We’ll explore not only the intricate details of DTF transfers but also alternative practices that ensure the best results in your printing endeavors. By following this DTF printing guide, you will learn how to create vibrant, lasting designs that stand out in any marketplace.
The Importance of Quality Materials in DTF Transfers
Quality materials are the cornerstone of successful DTF transfers. The choice of transfer film is particularly crucial; it needs to be compatible with both your printer and inks to prevent issues like poor adhesion or colors that don’t pop. Investing in reputable brands can pay off significantly, as these films are specifically engineered to withstand the demands of high-quality printing. This initial step is critical because it is often the difference between vibrant prints and disappointing results.
In addition to choosing the right film, selecting superior inks designed for DTF printing is equally vital. Quality inks not only enhance the vibrancy of the colors but also improve durability, ensuring that the prints withstand wash and wear over time. Opt for pigment-based inks that have been formulated specifically for use with DTF films, as these will penetrate better and create a bond with fabrics, reducing the likelihood of fading or peeling.
Optimizing Printer Settings for DTF Success
Printer settings have a significant impact on the final output of DTF transfers. Setting a high resolution is essential for capturing the intricate details and vivid colors of your designs. A high DPI (dots per inch) setting ensures that even the finest lines and shades are rendered beautifully on the film. Additionally, color calibration cannot be overlooked; it guarantees that the colors you envision match what appears in your final product. Using ICC profiles specific to your printer can help achieve more accurate color reproduction.
Moreover, adjusting the print speed according to the type of film and the intricacy of your graphic is important. Slower speeds may take longer but will often yield better quality results. For complex or detailed designs, prioritize quality over speed to avoid compromising your prints. This careful attention to your printer settings can significantly enhance the overall quality of your DTF transfers.
Pre-treatment and Post-treatment Techniques for Best Results
The effectiveness of DTF transfers is not solely dependent on the transfer film and inks, but also on how the fabrics are prepared. Pre-treating fabrics, especially synthetic ones, can significantly enhance adhesion, allowing the transfer to bond more effectively. This is particularly relevant for materials like polyester that may require extra steps to ensure a strong hold. Using the right pre-treatment solution will set the stage for a flawless application.
Post-treatment care is equally important. After making a transfer, refrain from washing the item for at least 24 hours to allow the print to cure fully. This crucial step ensures that the ink adheres properly and can withstand future washes. Neglecting this period can lead to poor durability and premature wear of the print, undermining the quality of your hard work.
Mastering Heat Press Settings for DTF Transfers
Getting the heat press settings right is vital for successful DTF transfers. The recommended temperature range is typically between 320°F and 350°F, and timing is equally important. Each transfer must be pressed for about 15-20 seconds; however, this may vary based on the specific materials you are using. Always verify the optimal settings for your particular film and fabric combination to ensure a perfect press.
Equally as important is the application of pressure during transfers. Ensuring even pressure across the entire transfer area is vital, as uneven pressure can lead to incomplete transfers or bubbling. Investing in a reliable heat press that allows you to adjust both temperature and pressure precisely will pay dividends in the quality of your final product.
Understanding the Curing Process for Perfect DTF Transfers
Once the heat press cycle is complete, the curing process begins. Allow the printed transfer to cool before peeling off the film to ensure proper adhesion. This step is often overlooked, but taking the time to let everything cool down can mean the difference between a successful transfer and one that lifts easily or shows gaps in coverage.
After peeling the transfer film away, it’s essential to visually inspect the details. Check for any lifting edges or imperfections that could indicate a need for adjustments in your process. Keep track of these findings in your notes; they can provide valuable insight into how to improve your techniques for future projects.
Testing and Adjusting: Key to DTF Transfer Mastery
Before committing to a final print, testing is a critical component of achieving optimal DTF transfers. Conduct test prints on scrap material to dial in your settings. This trial-and-error approach will help you determine the best combinations of film type, ink, heat, and pressure for your specific fabric. By identifying the ideal parameters, you can boost your confidence and guarantee impressive results with each run.
Additionally, continuously monitoring your results is essential for ongoing improvement. Keeping a detailed log of your print settings, the materials used, and the results of each test can highlight trends and help you refine your process. As you gather more data, you will be better equipped to make informed adjustments and maintain a high-quality output for all your DTF printing projects.
Frequently Asked Questions
What are DTF transfers and how do they work?
DTF transfers, or Direct to Film transfers, involve printing designs onto a special film that is then transferred to fabric using heat and pressure. This technique enables the production of vibrant colors and intricate designs on various types of fabrics.
What are the best practices for DTF printing techniques?
To achieve optimal results with DTF printing, focus on using high-quality transfer films and inks, calibrating your printer settings for high-resolution prints, and ensuring proper pre-treatment and post-treatment of fabrics.
How do I prepare fabric for DTF transfers?
Pre-treating fabrics enhances adhesion for DTF transfers, especially on synthetic materials. This step is crucial to ensure the transfer bonds effectively, resulting in a durable print.
What are some essential DTF transfer tips for beginners?
Beginners should start with quality materials, perform test prints on scrap fabric, and experiment with heat press settings to find the ideal temperature and pressure for their specific transfers.
How can I ensure the longevity of my DTF transfers?
To ensure longevity, allow the transfer to cure properly by avoiding washing for at least 24 hours post-transfer and by storing transfers in a cool, dark place away from direct sunlight.
What should I do if my DTF transfers are not adhering correctly?
Inspect your heat press settings, ensuring that both temperature and pressure are consistent. Additionally, check if the fabric requires pre-treatment and if you’re using the right quality materials for the transfer.
| Key Point | Description |
|---|---|
| Understanding DTF Transfers | DTF (Direct to Film) transfers involve printing designs onto a film that is then transferred to fabric using heat and pressure, allowing for vibrant prints. |
| Quality of Materials | Invest in high-quality DTF films and inks to achieve vivid colors and durability. |
| Optimizing Printer Settings | Set your printer to high resolution and calibrate colors for precise results. |
| Pre-treatment and Post-treatment | Pre-treat fabrics for adhesion and avoid washing immediately post-transfer. |
| Heat Press Settings | Use the correct temperature (320°F to 350°F) and even pressure for quality transfers. |
| Curing Process | Allow cooling time after pressing and check for adhesion before use. |
| Testing and Adjustments | Perform test prints on scrap materials and log settings for improvements. |
| Proper Storage of Transfers | Store transfers in a cool, dark place to maintain quality. |
Summary
DTF transfers are an innovative method for achieving high-quality prints on various fabrics. By mastering the techniques highlighted in this article, such as understanding the importance of quality materials and optimizing printer settings, you can ensure your DTF transfer results are consistently stunning. From pre-treatment to proper storage, each step plays a vital role in the final outcome. Through diligent practice and attention to detail, you will find that perfecting your DTF transfer process not only enhances your printing capabilities but also opens up a wealth of creative possibilities in apparel decoration.